
My theme this week has been kids rooms.....Simple DIY paint, and decor tips, to update any room. If you missed any of them, you can find those here....Football Field Wall, and Faux Headboards.
Today I wanted to show you one of my favorite techniques, Wood Feature Walls.
It's no secret I love all things old, and chippy. Salvaged wood of course, is right on the top of my list. I have all sorts of old wood pieces throughout my house. I would LOVE a wall like this, maybe someday soon :)

This room is from a model home, and was designed and installed by Dy Lynne Decor.
Dy Lynne and her husband went to a town about an hour away, Gonzales, to collect the wood. There is whole salvage shop there, where they tear down old buildings and homes from all across Texas. They are grouped in piles in a large warehouses. I've been several times, and it's so fun looking through it all, wondering where it all came from.
Others may see this as giant piles of fire wood.....It's all in how you look at it I guess.

They took alot of time, to hand pick each one of these boards, getting ones in just the right colors. If you have a place like this around you, go see what you can find. If you plan on doing a wall treatment like this, make sure to map it out well, so you don't end up short. If the wood is going in a child's room, it is best to seal a wall like this with an oil based sealer, to keep out any buggies, and prevent an flaking of what is most likely, lead based paint. A light sanding of heavy chipping pieces may also be necessary.

Varying the sizes makes the wall more interesting, and you may not be able to find enough of one size anyways.

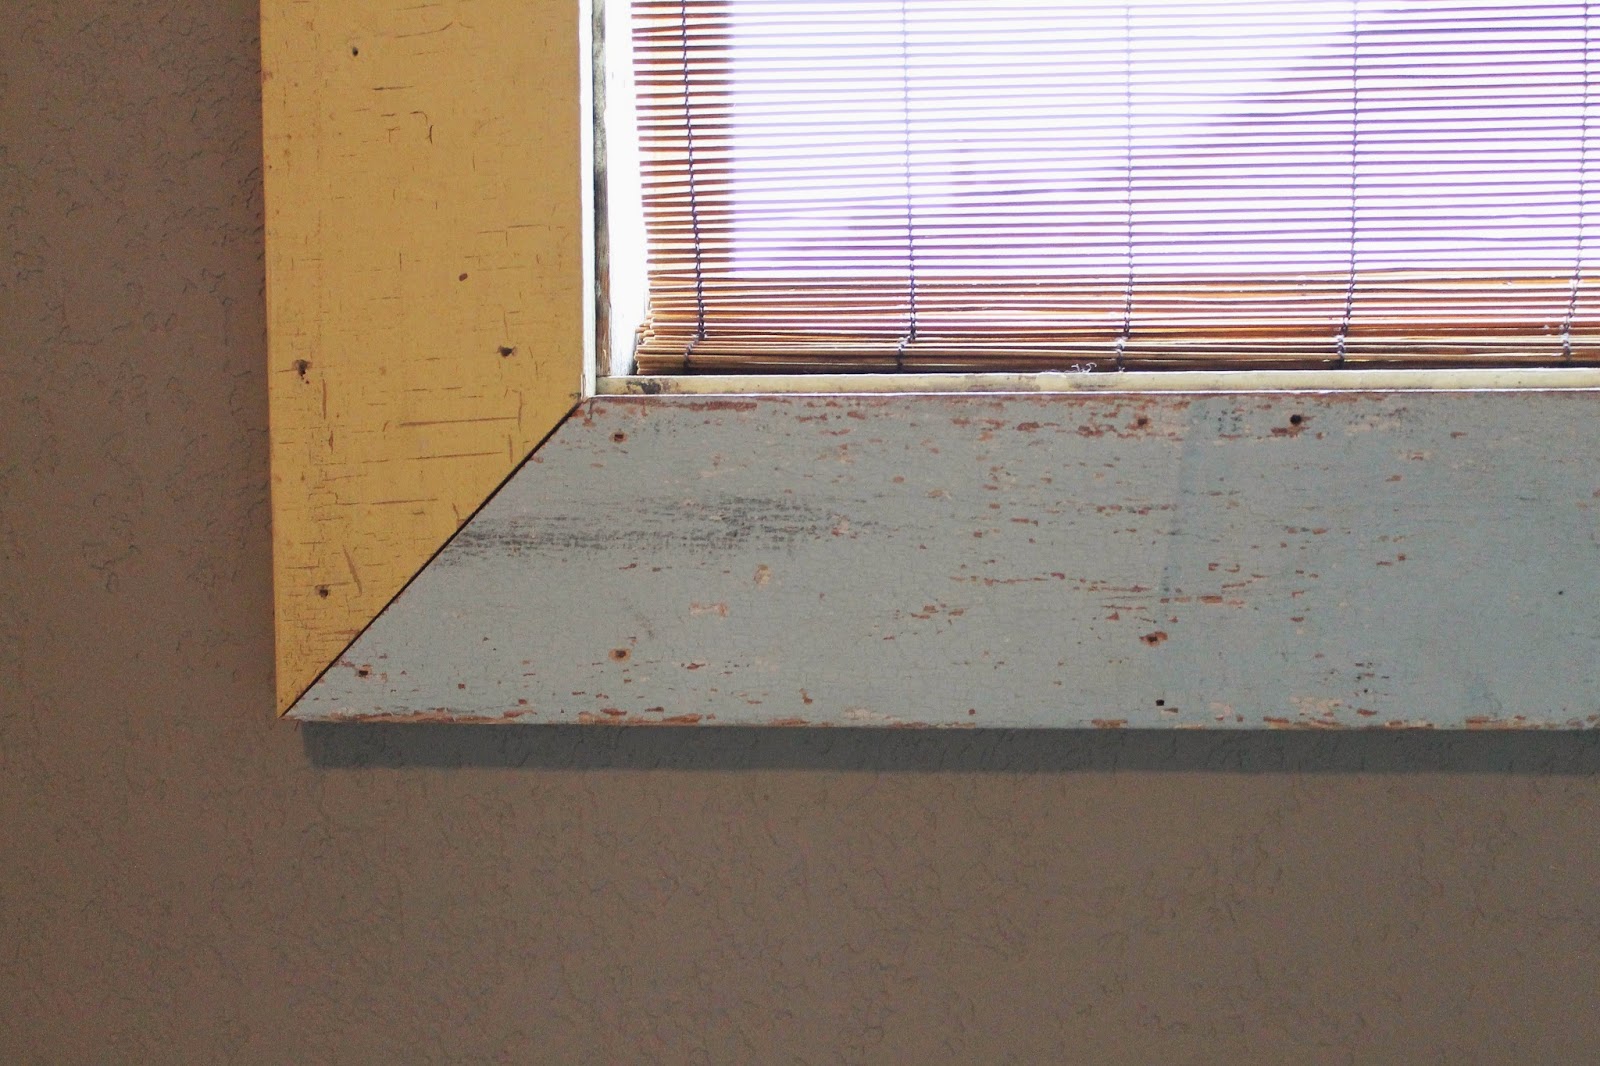
If you have left over wood pieces, use them to add trim to the window, as they have done here.
You could also use them to make a frame for a simple bathroom mirror, to give it some character.
On a side wall in this bedroom, keeping in the vintage theme, a set of vintage lockers were mounted to the wall. They were a bit bright, so i gave them a glaze, to tone down the yellow, and add some age.

On each of the doors, I added a chalkboard square, so they could be labeled with the contents.
You could also use any kind of chalkboard stickers, found at most craft stores.

Now while I love the old wood, it can get very expensive for a large wall like that.
For a cheaper version, use new wood, and give it some age.

Here is where this wall started, raw pine boards, 12ft long. Again they varied the sizes of the boards, it gives a more unique look.

I used several colors of stain, very thinned out with paint thinner. By adding just a wash to the boards, it soaks deep into the wood, and gives more age to the wood, than a solid color would. Also mix up each board with a different color, this way the look found. I darkened the knots, and heavy grain to bring those areas out.

Use colors that are in the grey, white, sun-bleached, and walnut tones. This give the appearance of age. Bringing in reds, and oranges, make the wood look to new.

As the stain is drying, I went over the knots with a foam brush, to enhance, and deepen them.

Once the wall is dry, your ready to go, no sealing is necessary. You could also add a light dry brushing of latex paint, and sand it down, to look like old painted boards.

This wall was the perfect fit for this vintage boys room.
Designed and decorated by the gals at Dy Lynne Decor.

Here is another boys room with a similar wall treatment. In a vintage woodland theme.

This wall started off with cedar planks instead of pine, and alternating the lengths.

I painted them with a similar technique, thought the boards were a bit rougher with the cedar. Cedar has an orange tint to it, so I used a color of stain to counter act this, and added a bit of purple tint to it.

Once it was dry, and soaked in, it looked more toned down.


I mimicked the stain on an unfinished piece of furniture, to pull the color around the room.

The dresser between the beds of the shared bedroom, acts as a nightstand. I painted it with a red color, and gave it a deep brown glaze, for some age.

This beautiful woodland themed room, was also designed, put together by the team at Dy Lynne Decor.

If you don't have a boys room to add the wood to, consider other areas of the house. Here in this farmhouse style dining room, old wood boards were attached to the back wall.

Pairing the wood, with a deep, bold wall color, really gives this room a warm feel.

All of these boards were free of any paint already.

I love the mix of fabrics, glass, and greenery with the wood in this room.

So lots of woody inspiration.. ..Put it anywhere, to make a vintage statement...niches, walls, ceilings, back splashes, etc.
Have a great Saturday!
please tell me the exact stains you used for the first wall using the raw pine 12ft planks. I love it!
ReplyDeletethanks
I have the exact same question as above. What exact stain colors were used in first wall pic?
ReplyDeleteYes, what stains on the first wall?! Love it!
ReplyDeleteThis is the best tutorial to age boards I have seen yet! Excellent job. Thank you.
ReplyDeleteWhat product did you use for the glaze on the lockers? The room looks great!
ReplyDelete