
Niches can be hard places to decorate. Some times they go to the floor to ceiling, and sometime they are only a few feet tall.
So what do you put in them?
How do you paint them?
I have painted many niches in my line of work, and today I wanted to show you a fun, and colorful technique.
This faux treatment would work really anywhere, on any type of wall, and in any color.
In this room, this space was a blank hole. This is the perfect opportunity to add a real punch of color, something that really makes a statement. Since the niche is only a small portion of the wall, you aren't really committing to a giant wall treatment.
Keep reading for the full how to, and be sure to check back for more nice ideas over the next couple of weeks.


How-To
To start, I painted the niche in a chartreuse color. You can pick any color here really, but use something that may not be in all of your decor, something that will pop.
Next I measure off the space, marking 6" squares. I went ahead and added the tacks, at all of my intersection, to keep track of my squares.
Then I taped off the sections I was going to be painting. I added a small piece of blue tape to the inside of squares I wasn't painting, just to keep me on track, when your right up on the wall you can easily loose track of where you were.
Then I taped off the sections I was going to be painting. I added a small piece of blue tape to the inside of squares I wasn't painting, just to keep me on track, when your right up on the wall you can easily loose track of where you were.


For the finish on the checkered squares, I tinted a metallic plaster to match the color of the base paint. This is a tone on tone checkered look, so I kept them both in the same color.
The metallic plaster I used is from a specialty faux paint store. For something similar at you local paint store, try Sherwin Williams Quartz Stone. This material can be tinted in many colors.
For a tone-on-tone look, start with the plaster color first, and match a base paint to the plaster. They can even custom match your paint to your plaster in about an hour.

The material is basically a very thin plaster, with a metallic glimmer to it. You can also add a bit of water for a thinner version, but it is pretty easy to work with as is.
The metallic plaster I used is from a specialty faux paint store. For something similar at you local paint store, try Sherwin Williams Quartz Stone. This material can be tinted in many colors.
For a tone-on-tone look, start with the plaster color first, and match a base paint to the plaster. They can even custom match your paint to your plaster in about an hour.
The material is basically a very thin plaster, with a metallic glimmer to it. You can also add a bit of water for a thinner version, but it is pretty easy to work with as is.

I use a flat trowel like this one, mine is a faux finish trowel, and has curved edges, but for this project your working in such small areas, this wont make a difference. For bigger surfaces, takes a sander to the edges of the trowel, to curve the edges. The sharp corners here, tend to leave lines on plaster finishes.
 |
| Kobalt 7.5" from Lowes |
Use small amounts of the product each time. Putting it on the edge of the trowel will give you the most control.

Start at a corner, a sweep across each square. Don't worry to much about the application. Once the square is filled, go back over with the whole thing, with edge of the trowel to smooth it out. Keep the rest of the trowel just slightly off the wall, you don't want it flat on the wall. See the photo below.

The finish will have a little texture when finished, it's not meant to be perfectly smooth, so its hard to mess this one up.

Then just remove the tape.


For the tacks, I wanted them all to be in a antiqued copper color, so originally I painted over all of them, since they didn't match. I used two colors of Modern Masters Metallic Paint, in Copper, and Statuary Bronze
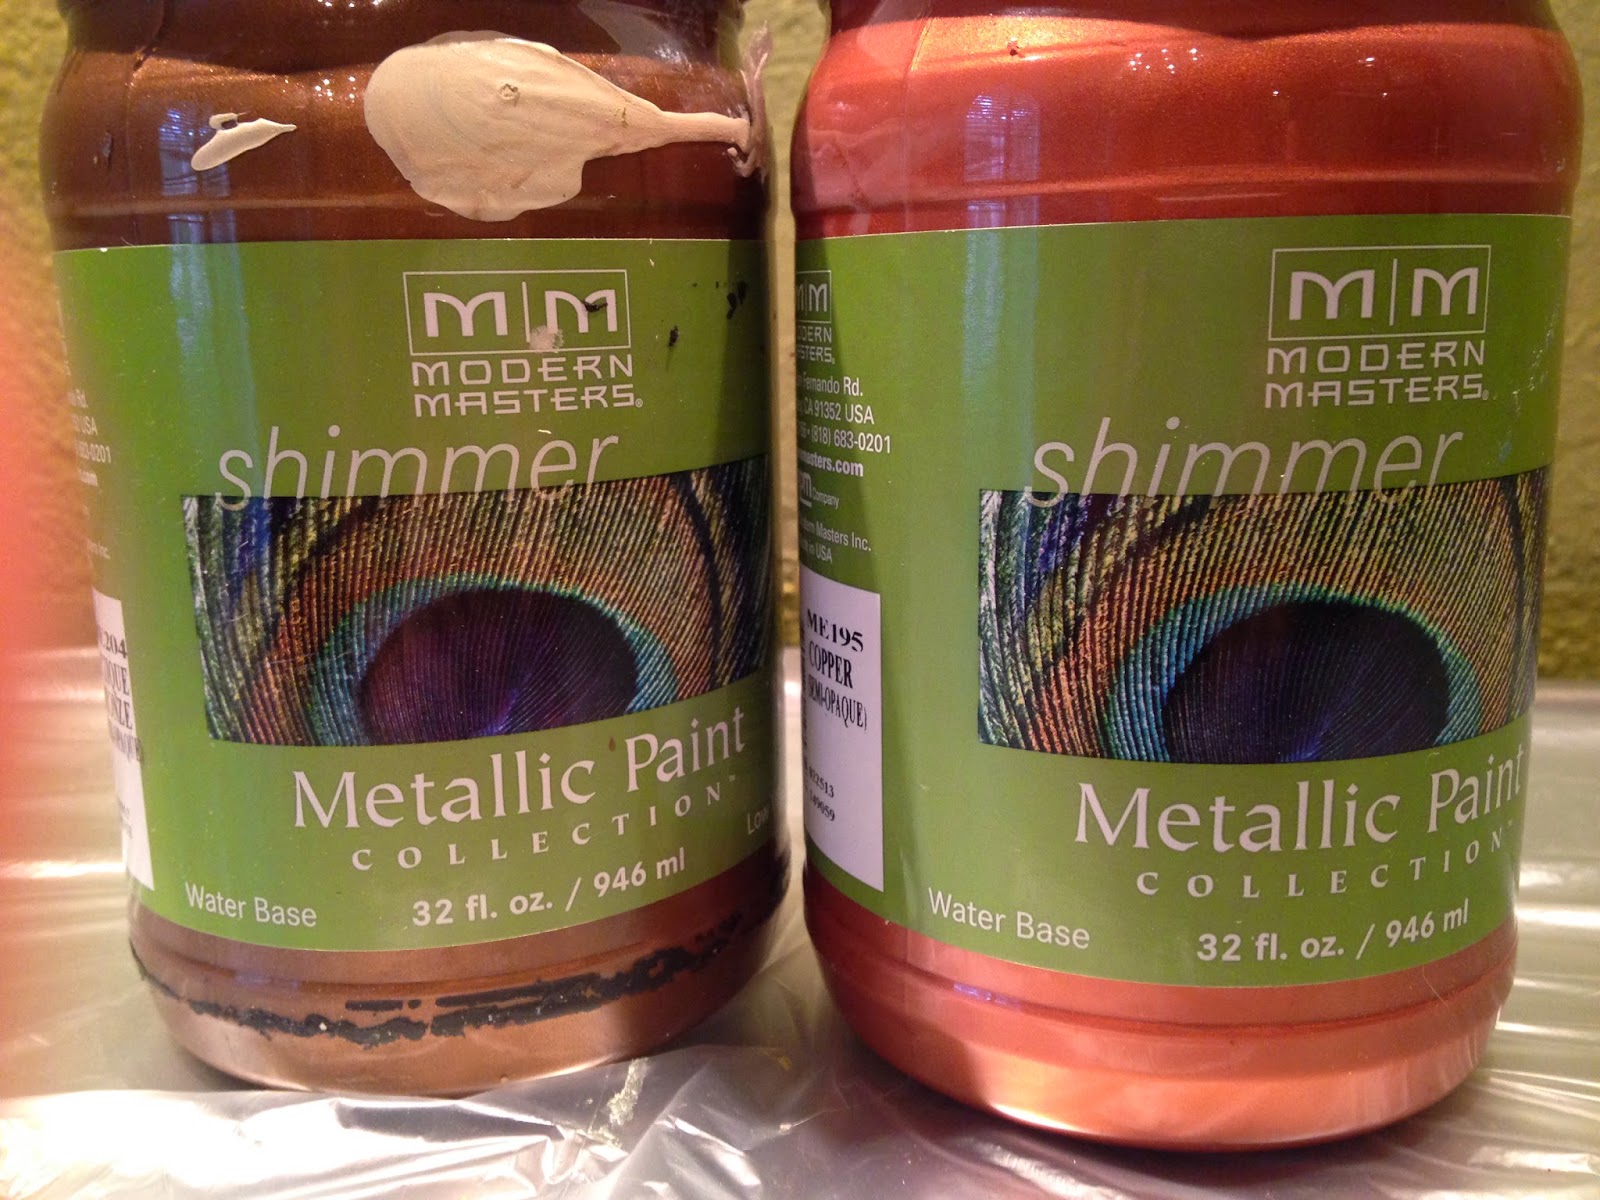
You don't need much of this, even some small tubes of acrylic paint would work.

I mixed a little of the bronze with the copper.

Using a small brush, I covered the surface of the tack.

You may need two coats, depending on the color of the wall, or the tack you are using.

Pretty simple technique, you could do this on a larger scale, like on a full wall, or in a bathroom.

As for the color, this may not be your preferred shade....use something softer for a more glam look, like a gold on gold. For a modern space, you could even use shades of white. This metallic plaster is so gorgeous in red, if your willing to go that bold.

In this room, there were fun pops of color all over the place. The color for the wall, and treatment were chosen form the this beautiful burnt velvet sofa fabric.

The metallic plaster when dried, has the same sheen as this velvet, very multi-dimensional. It was the perfect addition to the room.

The home owner hung this beautiful art piece in the niche. I painted the frame to mach the tacks. I love how he hung this. It was anchored to the center of the niche, so it sat away from the wall. It almost looks like its floating. Much more intriguing than sitting flat on the wall. The can lights were placed behind this, so the wall glowed. Not easy to get pictures of though.


Don't be scared of the color, do it in whatever works for you, and don't be scared of the finish.
Try new techniques and materials out, you'll be so proud when your done!!!
Ill be showing you some other fun things to do with niches over the next couple of weeks, so be sure to check back.
No comments :
Post a Comment